Changing the Service Account
The XIA Configuration Client uses a Windows service to perform scanning of items and is configured with a service account that is set during installation.
WARNING: It is recommended that you uninstall and reinstall the XIA Configuration Client instead of manually changing the service account.
To manually change the service account after installation, complete the following steps.
- Ensure that you have a full backup before proceeding.
- Ensure that the new account meets the requirements in the service account section.
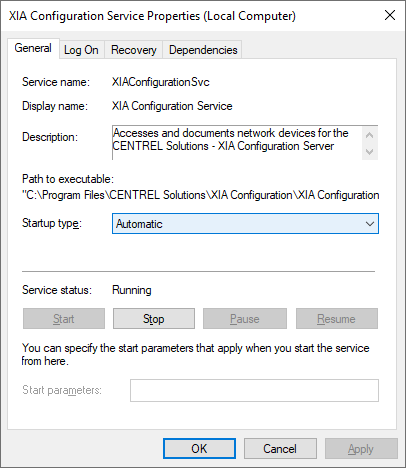
- Open the services management console (Start > Run > Services.msc) and open the XIA Configuration Service.
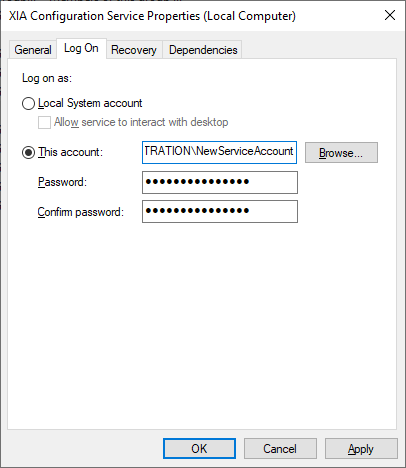
- On the logon tab enter the new account name and password - this must be in NetBIOS format "DOMAIN\username", then click OK.
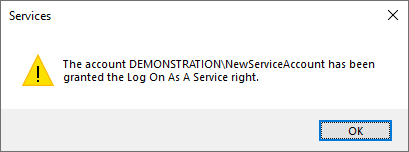
- The service account may be granted additional rights
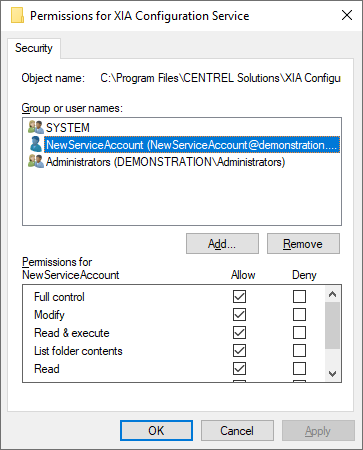
- Open the installation folder - by default "C:\Program Files\CENTREL Solutions\XIA Configuration\XIA Configuration Service".
- Modify the NTFS permissions of the folder and ensure that the new service account, Administrators, and SYSTEM have full control.
- Open the registry editor to the following location
HKEY_LOCAL_MACHINE\SOFTWARE\CENTREL Solutions\XIA Configuration Service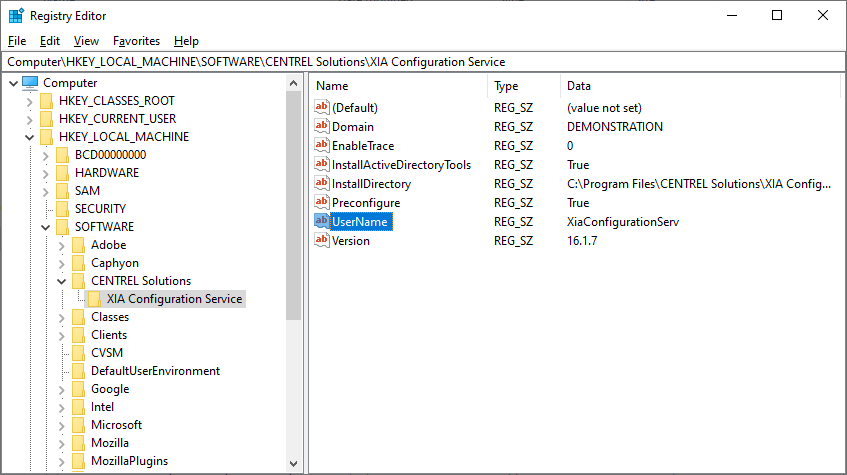
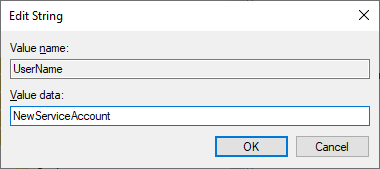
- Modify the Username value and enter the new service account name.
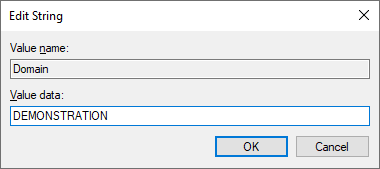
- Modify the Domain value and enter the domain name of the new service account - this must be in NetBIOS format.
- Restart the XIA Configuration service.